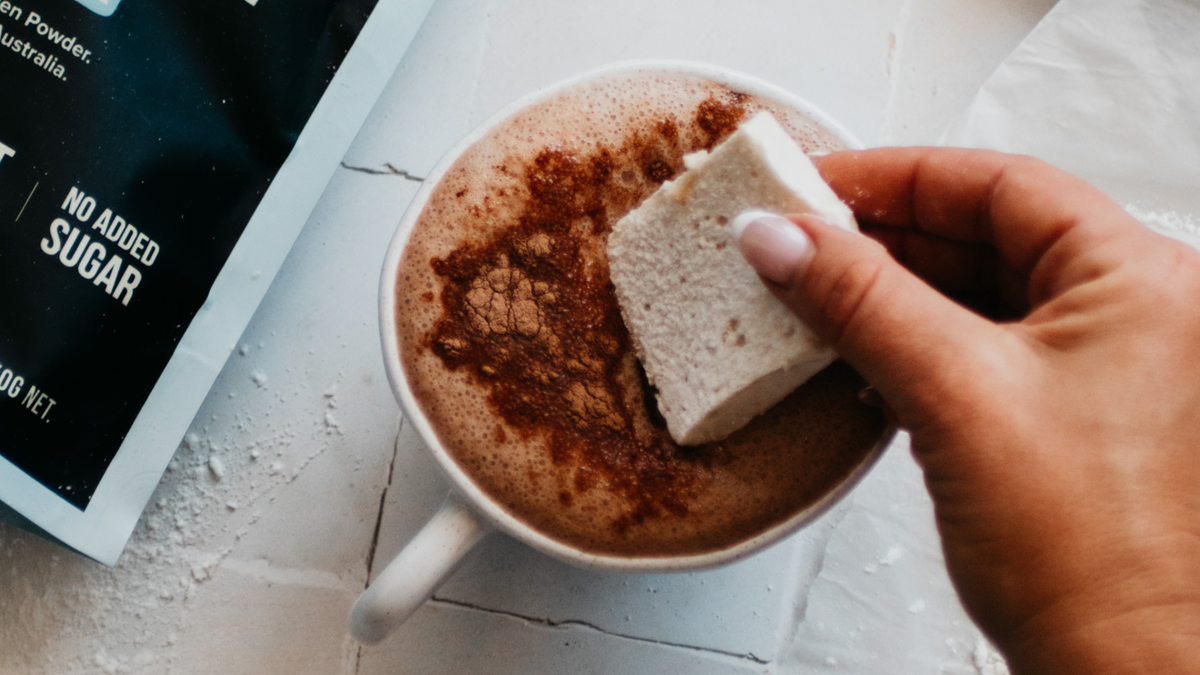
Gut Healing Marshmallows

By Laura Saunders

Gut-Healing-Marshmallows Chief Nutrition
Gut Healing Marshmallows

Gut Healing Marshmallows

Laura Saunders

Servings

12 large, or 24 small 

Prep Time

10 minutes

Cook Time

90 minutes

Category

Dessert

These gut-healing marshmallows are made with Chief Creamy Vanilla Collagen Protein for a delicious way to deliver collagen peptides to help support your gut, joints, and skin. Grass-fed gelatin provides key amino acids to support and repair the gut lining, while raw local honey adds natural sweetness along with antimicrobial and immune-supporting benefits.

Enjoy them on theirown, or level up your evening ritual by pairing them with a Chief Dark Choc Collagen Hot Chocolate. Together, they make a delicious after-dinner treat to support gut health,immunity and recovery — without compromising on taste. Bonus - they toast beautifully and melt seamlessly into hot chocolate—just like the classic kind.

Ingredients

  • ¼ cup grass-fed gelatin 

  • ½ cup filtered water 

  • Tapioca starch or gluten-free flour for dusting pan 

  • 4 heaped tbsp Chief Creamy Vanilla Collagen Protein [optional but delicious], sub for tsp of vanilla extract

blank

  • ½ cup water 

  • ¾ cup local raw honey 

Directions

  1. Pour ½ cup water into a medium bowl. Sprinkle gelatin evenly over the top of the water, stir together briefly and then leave to bloom. 

  2. Line a slice tin or medium sized baking dish with baking paper and dust with a fine layer of tapioca starch. Set aside. 

  3. Transfer the bloomed gelatin to a large mixing bowl and have electric beaters and a spatula out and ready to use. 

  4. Add honey and water to a saucepan, whisk to combine. Place saucepan onto a high heat and bring to a boil for 7 minutes. Now take off the heat immediately.  

  5. With electric beaters in one hand, slowly pour honey syrup into the bloomed gelatin while beating to combine. Beat for 8 minutes, slowly increasing the speed. Add Creamy Vanilla Collagen Protein now while still beating. 

  6. Once the mixture is white and fluffy, pour into the pre-prepared baking tin or dish straight away - it is important to work quickly here as the marshmallow will begin to set. Place the marshmallow into the fridge for 1 and a half hours to set. 

  7. Once the marshmallow is set, remove from the fridge and use a sharp knife, dusted in tapioca starch, to cut into cubes. Dust each cube in tapioca starch and store in an airtight container, between layers of baking paper to prevent sticking. 

  8. Store in an airtight container in the fridge for up to 5 days. 

  9. Enjoy in hot chocolate or toast it up for s’mores!

4 comments

  • Jacqui Douglas on

    Could dust with Protein powder instead of flour if any kind…will try.. cut the carbs out. Cheers

  • lucy on

    hi there can you use the chocolate flavour instead?

  • Justine on

    Hey, I think there’s some missing instructions between step 5 and 6. Someone forgot to proofread haha woops!
    ———
    Chief Nutrition replied:
    Hi Justine,

    Good catch, this is all fixed now. We can’t wait to hear what you think!

    Thank you!

  • Kristan on

    Looks great! I haven’t seen protein powder being added to marshmallows before so I think its a great twist to try.

    Is there a step meant to be there between #5 and 6 showing when you stop beating and need to put it into the tray, and perhaps an idea on how long to let it set, etc?

Leave a comment

Please note, comments must be approved before they are published